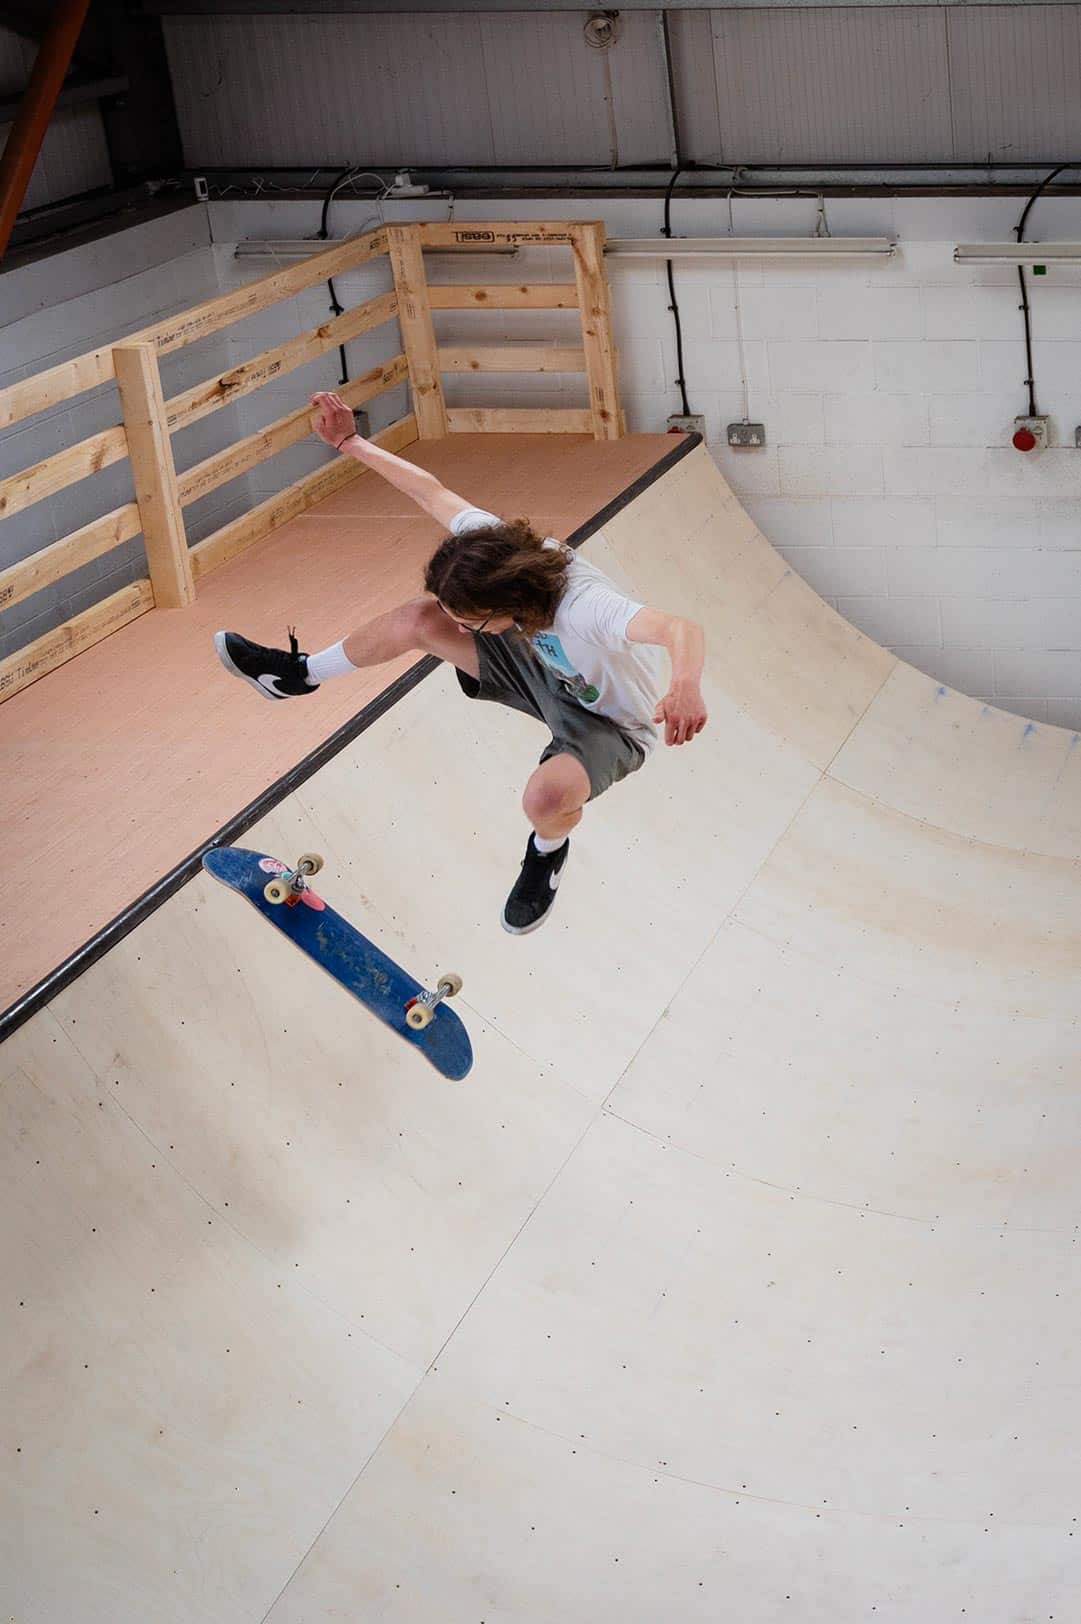
Why build a mini-ramp?
Sam and I started Supereight for many reasons. For me though, the staff and skate team having access to a truly great ramp was right at the top of the list. It was also a personal dream – who wouldn’t want a ramp at their work?
As a “business decision”, it’s a bad one. The ramp takes up a huge chunk of the warehouse that could be filled with more racks of shoes and decks. Admittedly, we could do with the space…but we started Supereight because we love skateboarding, and mini ramps are a lot of fun.
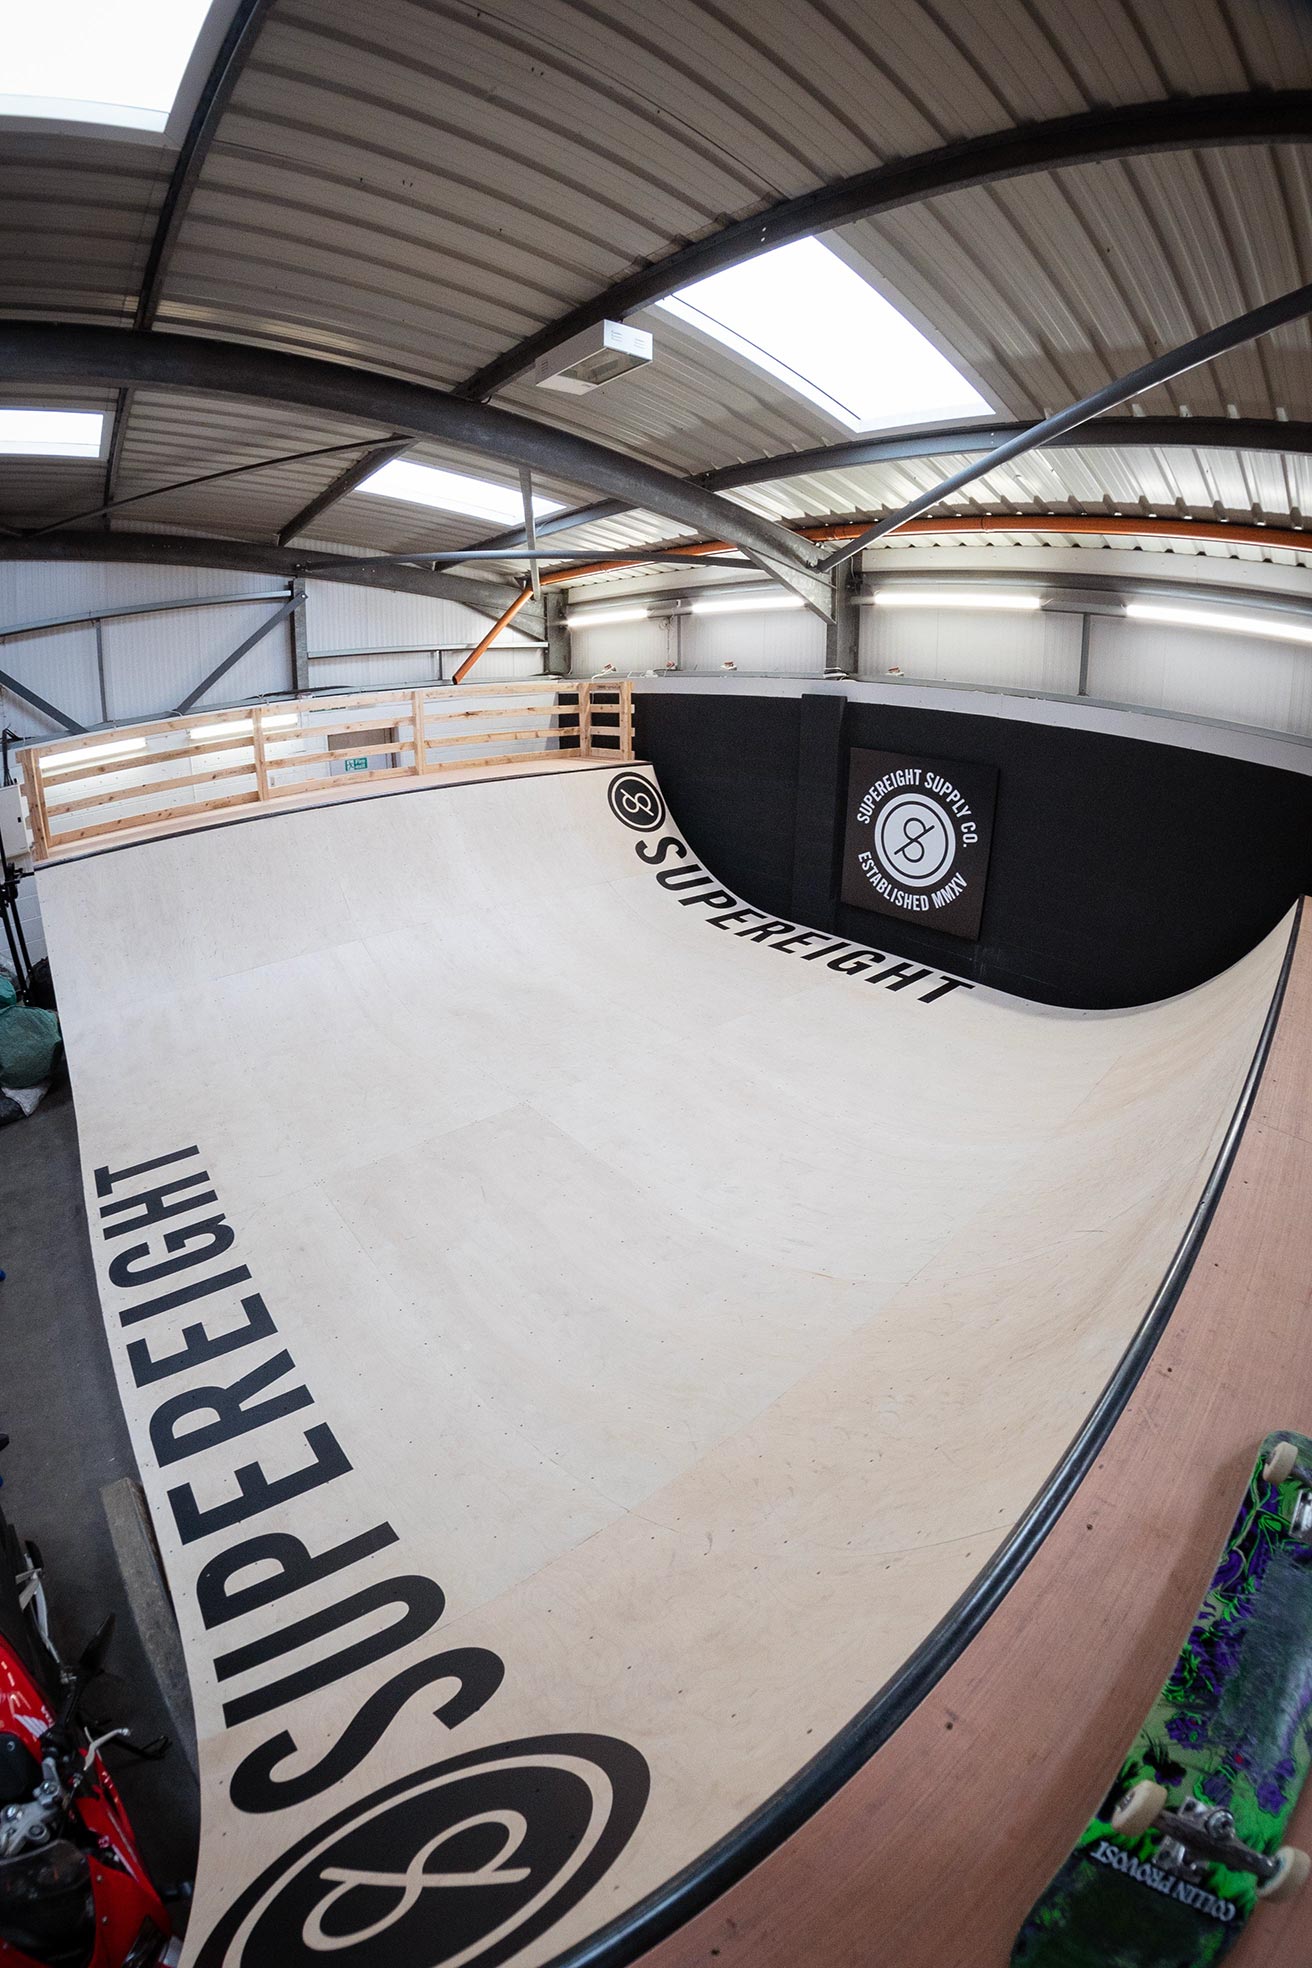
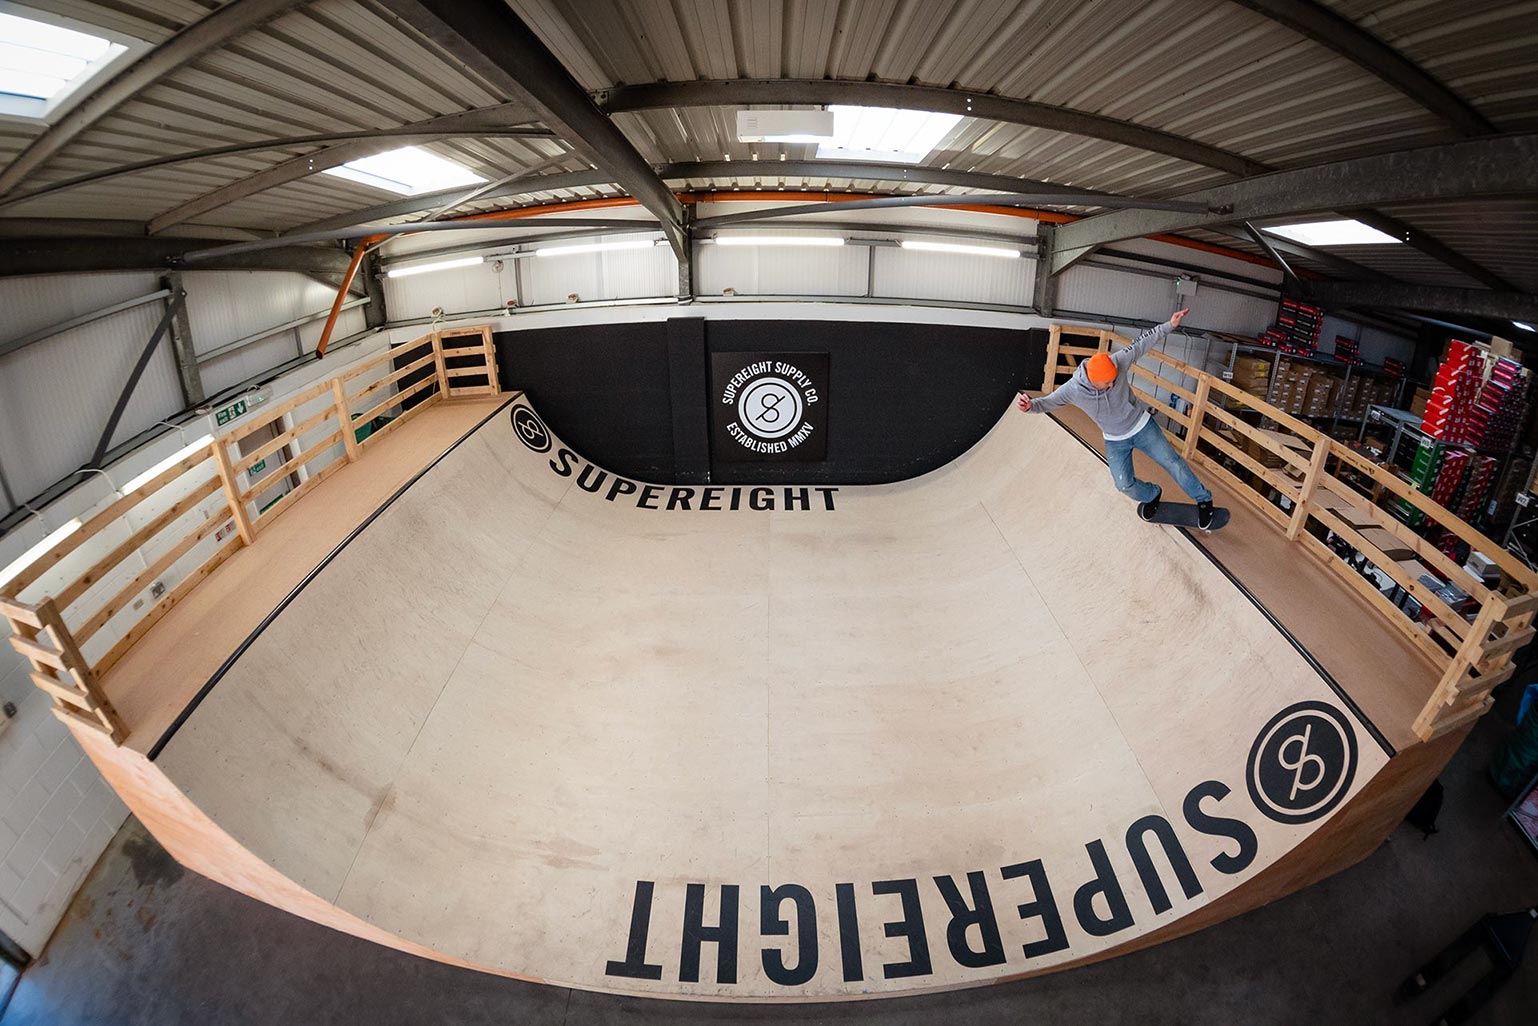
The moment we saw our new warehouse, the ramp area was marked out and within weeks of moving in we had Chris Straw of Flo construction on site building the 20ft wide, 5ft high beast. Get your priorities right, eh?
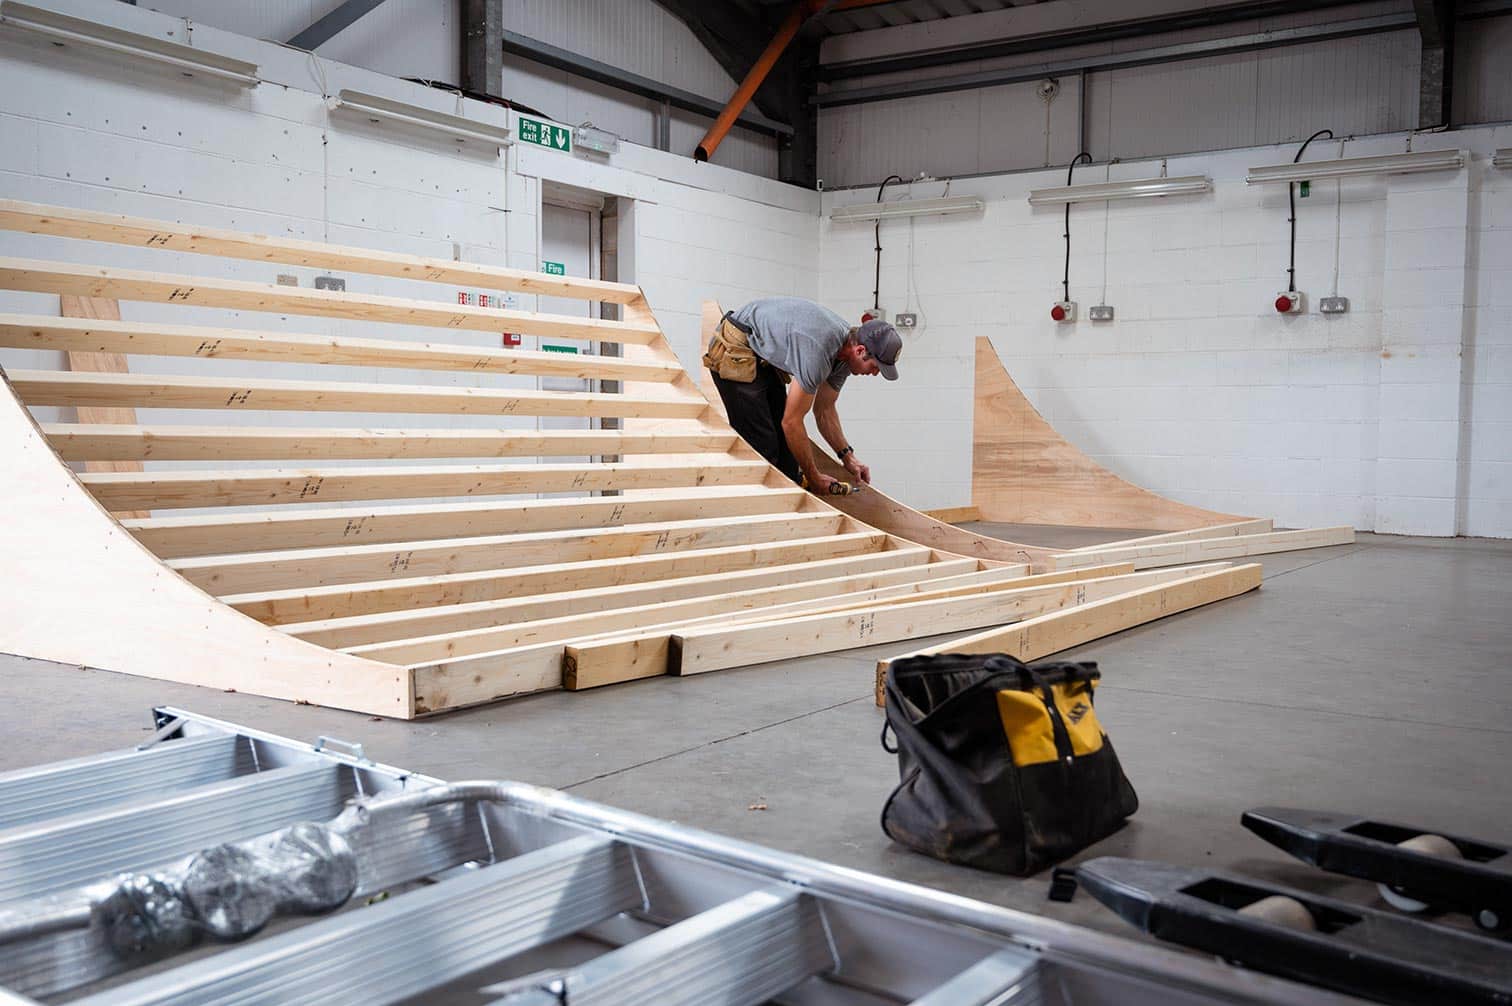
Chris builds ramps for a living and it shows in the workmanship. Ramps seem like a simple thing to make, but that is definitely not the case. How many aberrations have you seen made for councils by builders who thought they could make a tidy profit slinging ramps together? Several I will wager. Councils – use a pro like Chris!
The ramp build
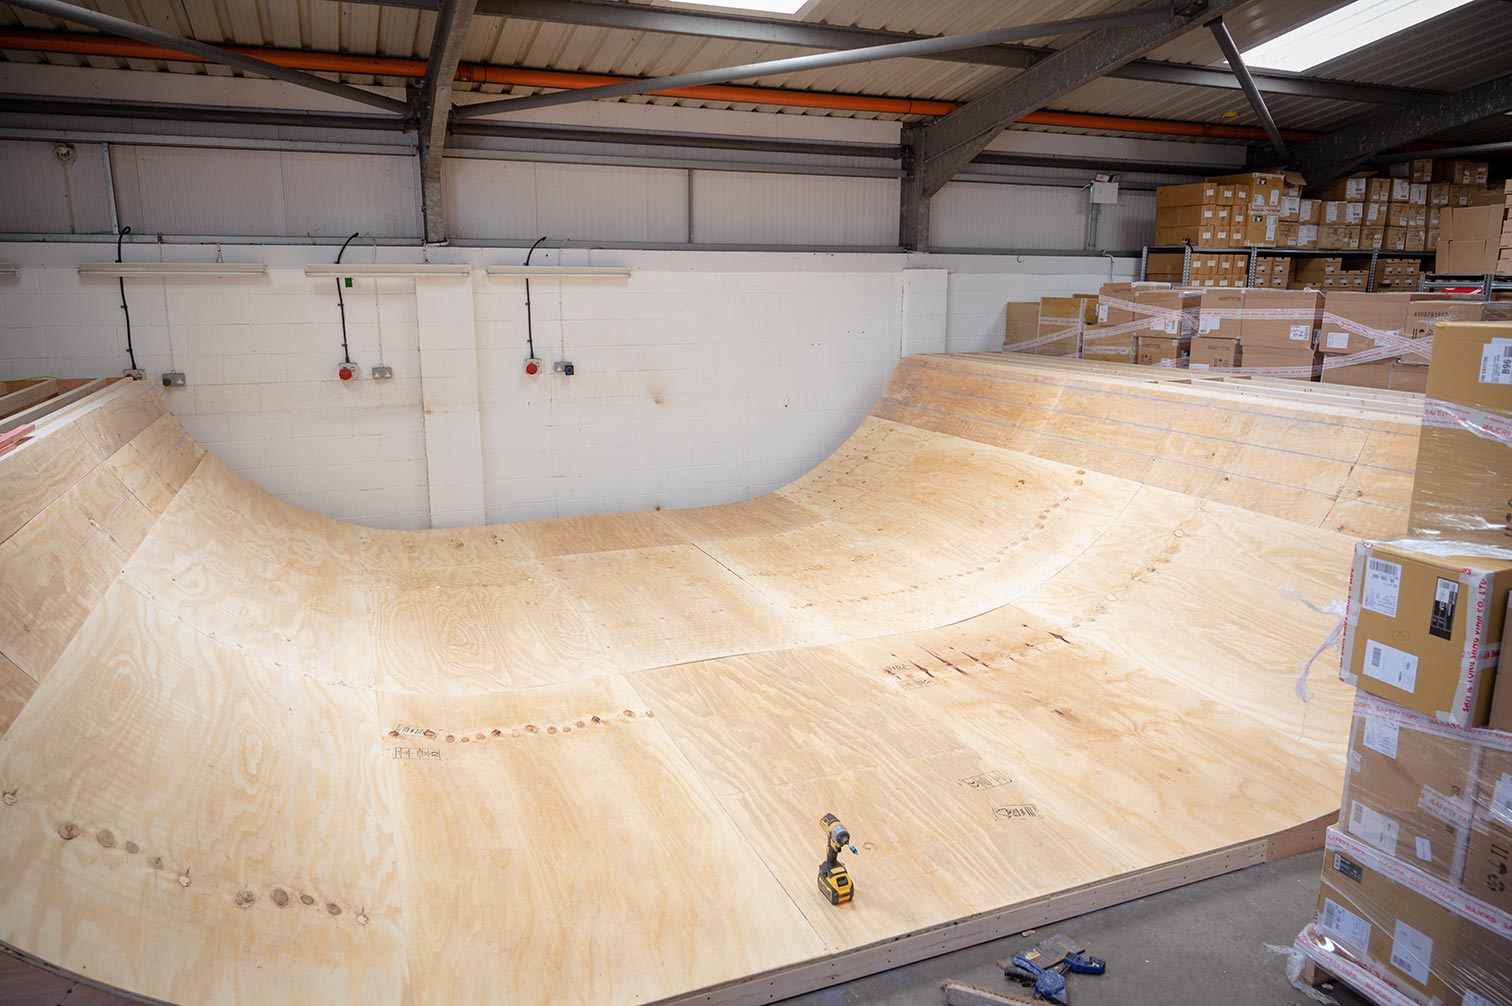
To make a great ramp the transition has to be cut just right, the coping has to be set perfectly, (not too deep and not too shallow – just the right amount of ‘bong’) and the ply has to be laid precisely to provide a smooth surface. The materials have to be right too – birch wood surface was essential – something made much more expensive by the war in Ukraine. That’s right, most birch comes from Russia these days, sending the prices sky-high. Still totally worth it for a smooth riding surface though!
The full build took a little less than a week. Chris cuts all the wood offsite and arrives with everything ready to put together, essentially making the ramp in a modular fashion. Each side was made of two quarters which were then bolted together to make the full 20ft width.
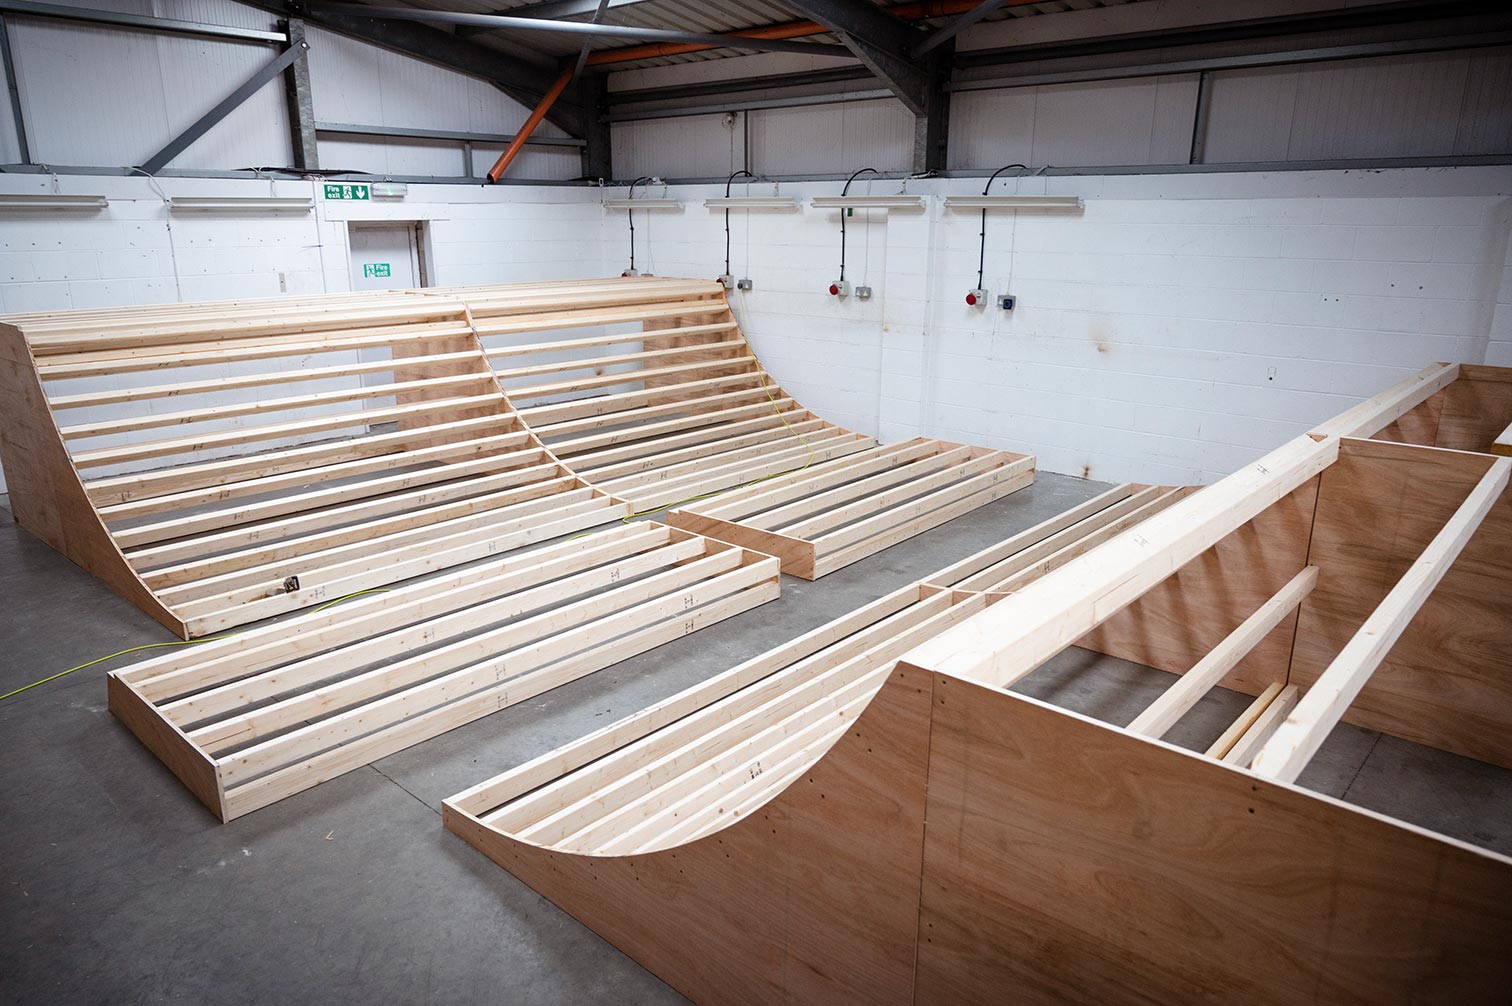
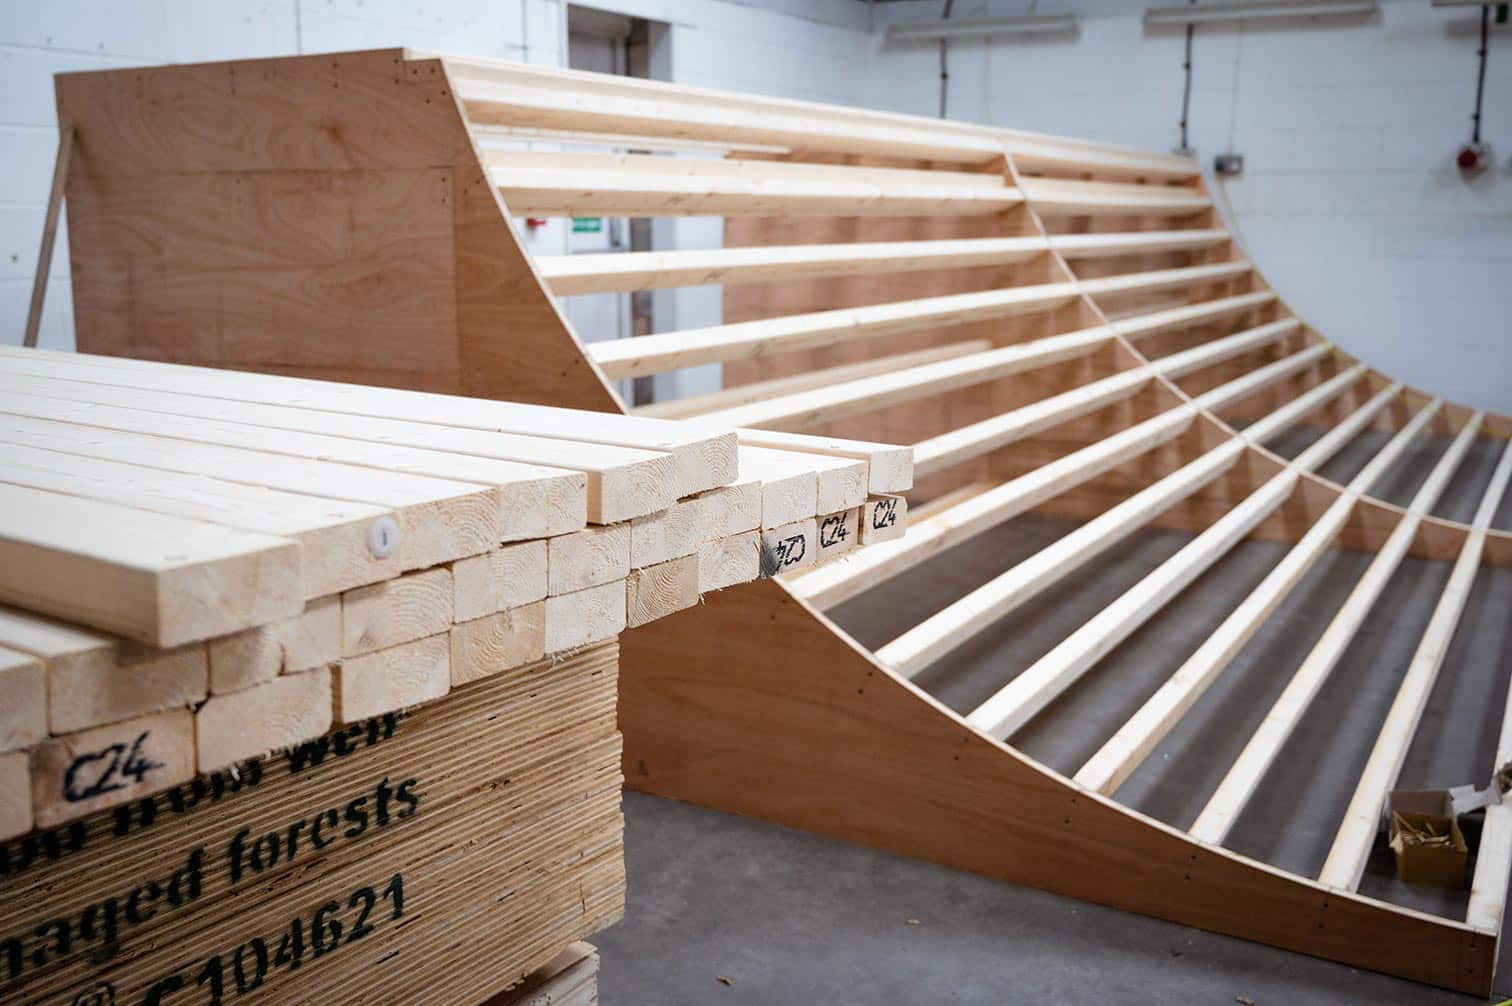
Once everything was put together the ramp got 2 layers of underlay, using ½ inch basic ply and just enough screws to hold the pieces in place.
Next, the ludicrously expensive birch ply went down. This is where the impact drivers get put to the test. If you ever make your own ramp, remember to buy plenty of crosshead drill bits. Literally, thousands of screws go in at this point and those drill bits get super hot a snap clean off!
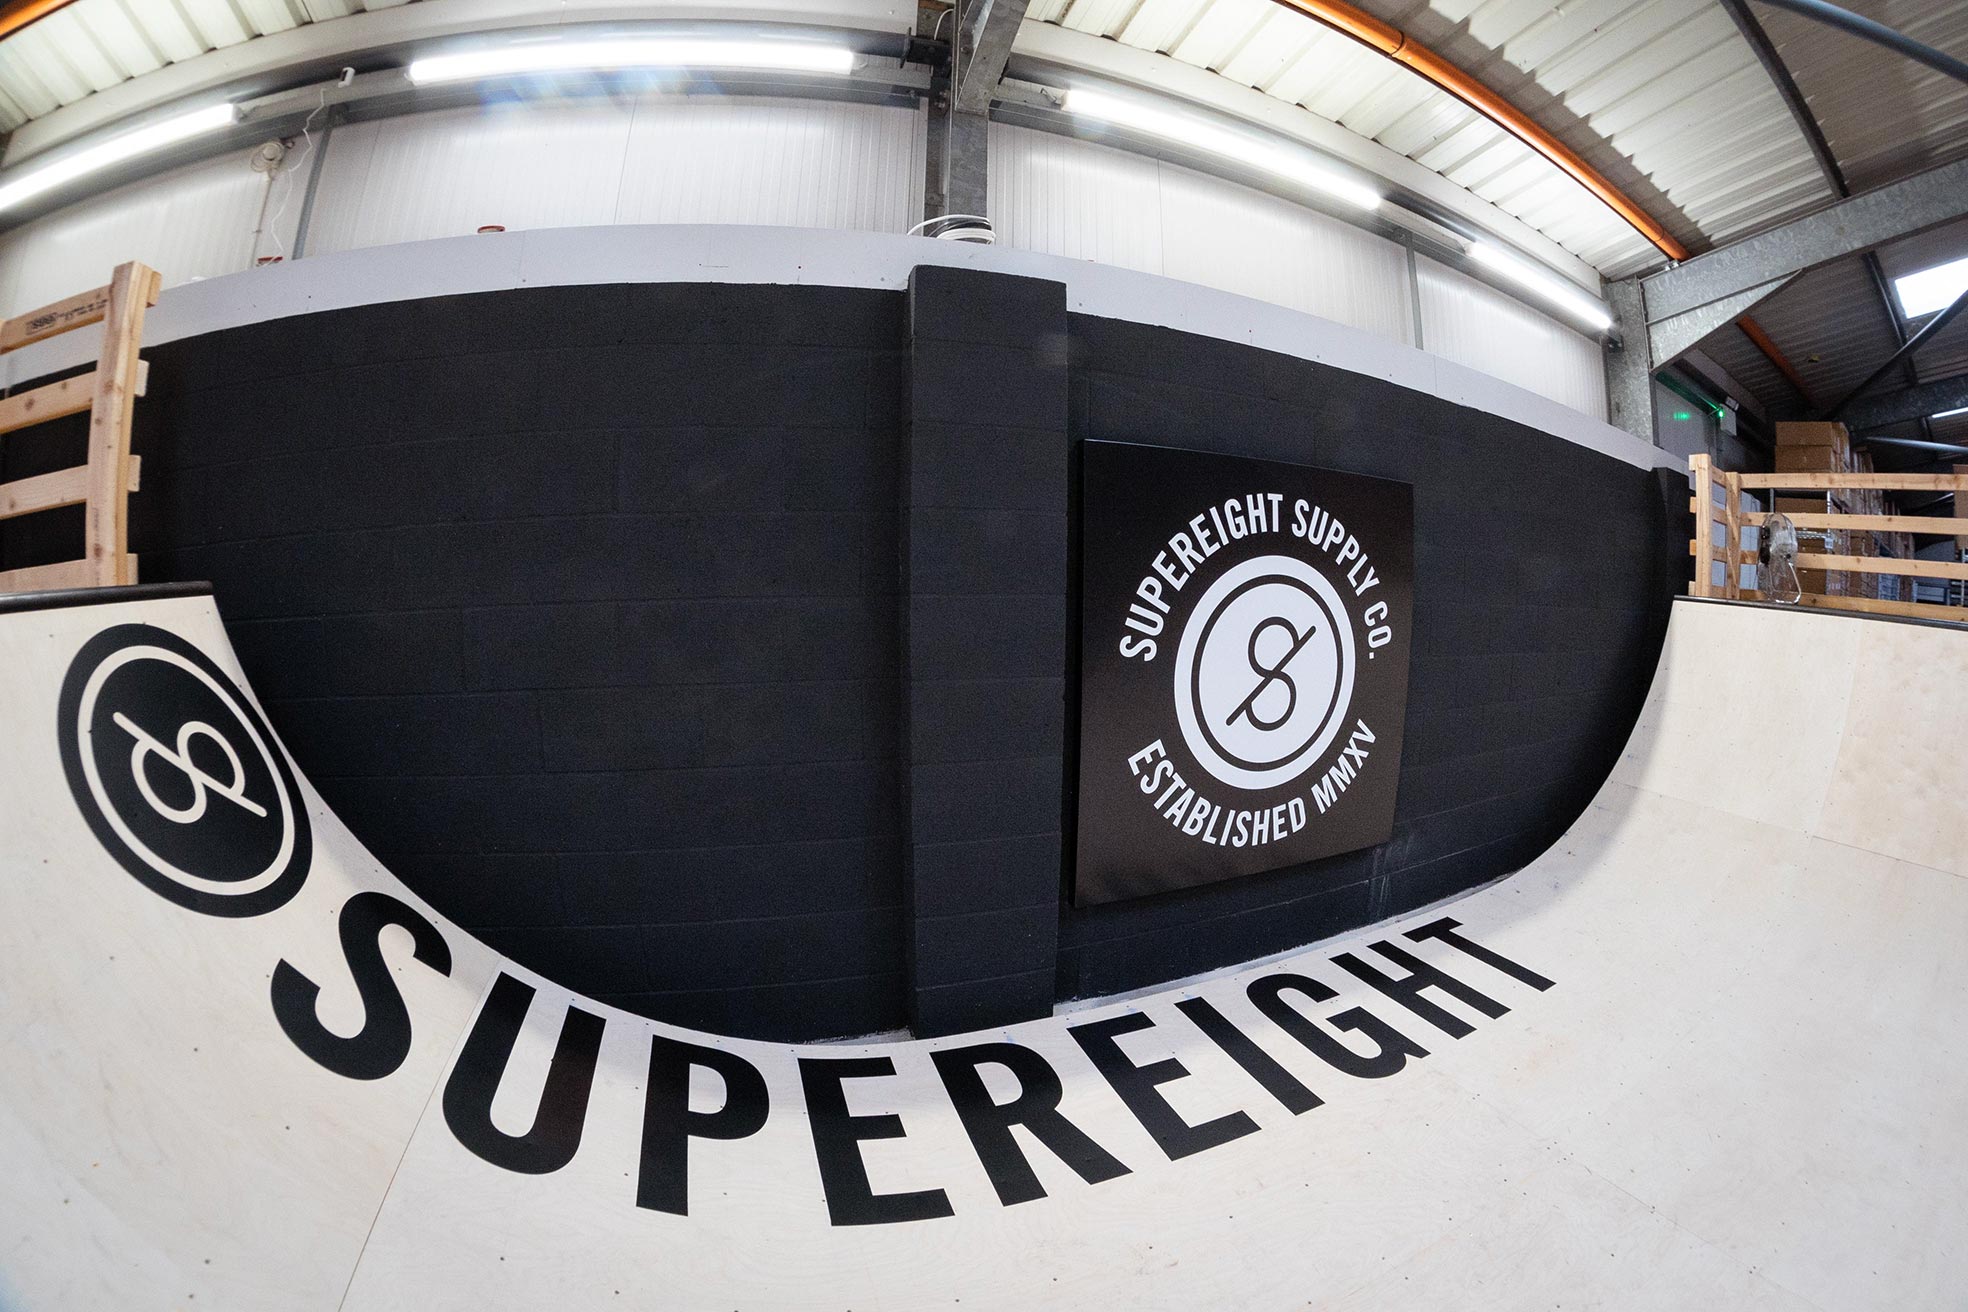
After an annoying delay on the coping (I had feeble grinds to do), the truck rolled up to Supereight with two 20ft lengths of coping. A lot of modern skateparks have larger coping radii, around 60mm, as it kind of works for bikes, scooters and skateboards but it can feel pretty clunky. We specified 56mm coping, slightly smaller and perfect for skateboarding.
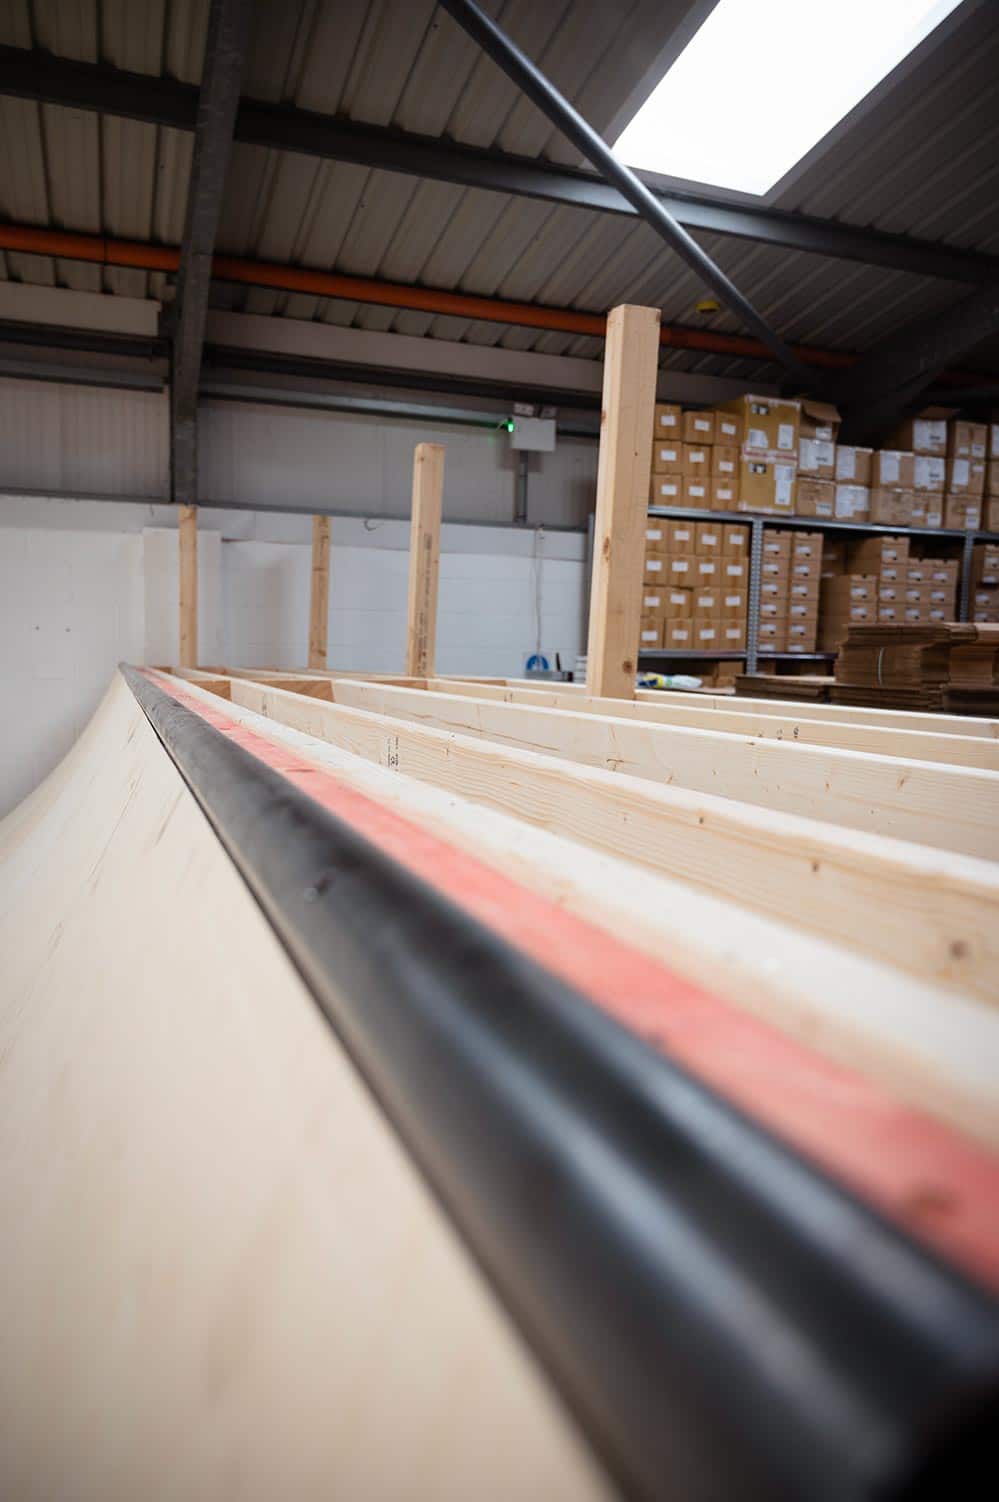
Once we had agreed on the perfect ‘bonk’ (how much it sticks out from the transition surface and the top of the platform) on the coping, Chris secured it in place and then put the ¾-inch ply platforms in place. In an ideal world, the platforms would have been birch ply too as it slides much better but thanks to our mate Putin, that would have added £1000 to the build!
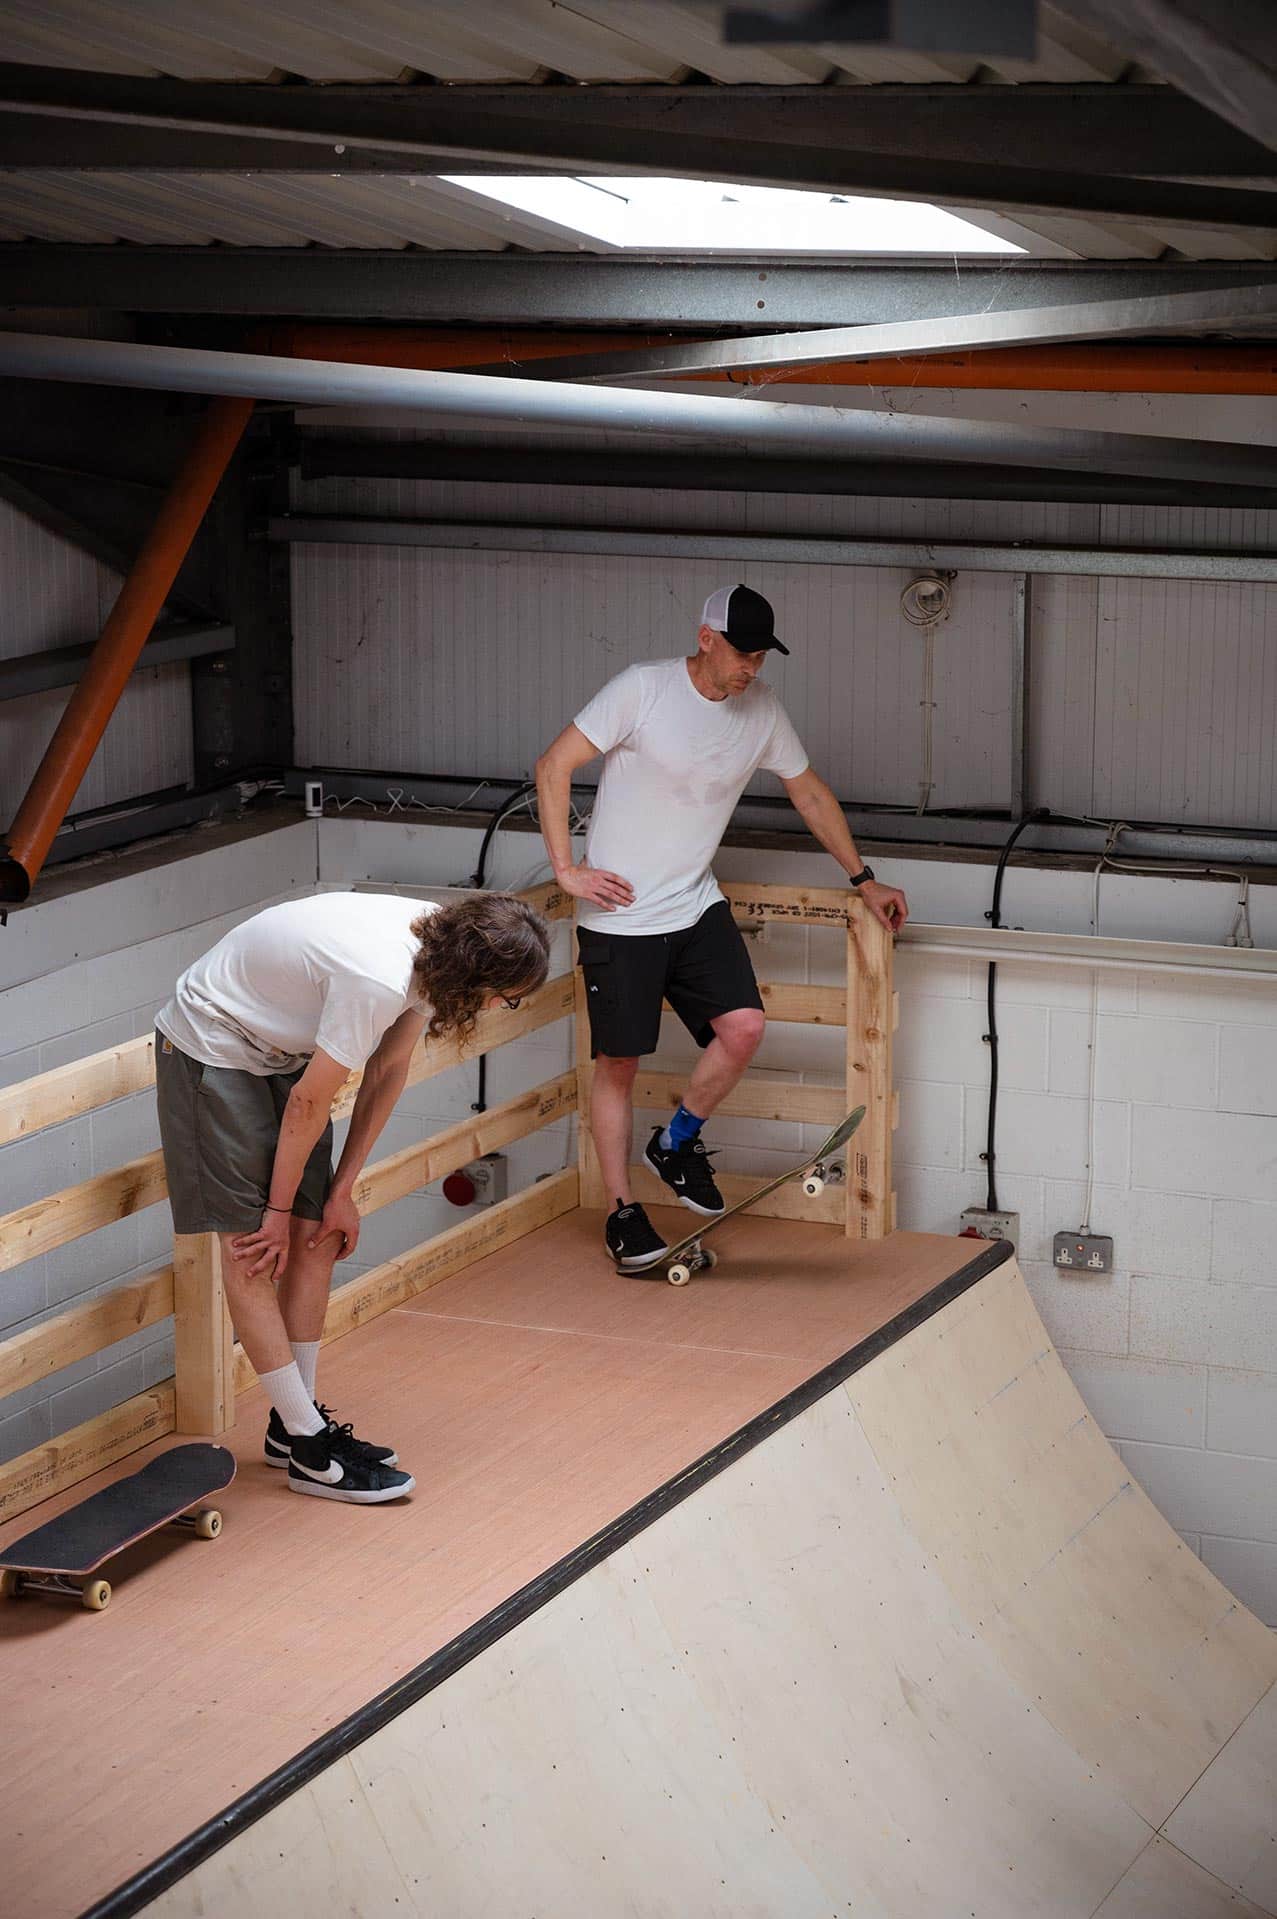
Finally, the fences went up to stop boards shooting into our stock and bodies flying off the ramp.
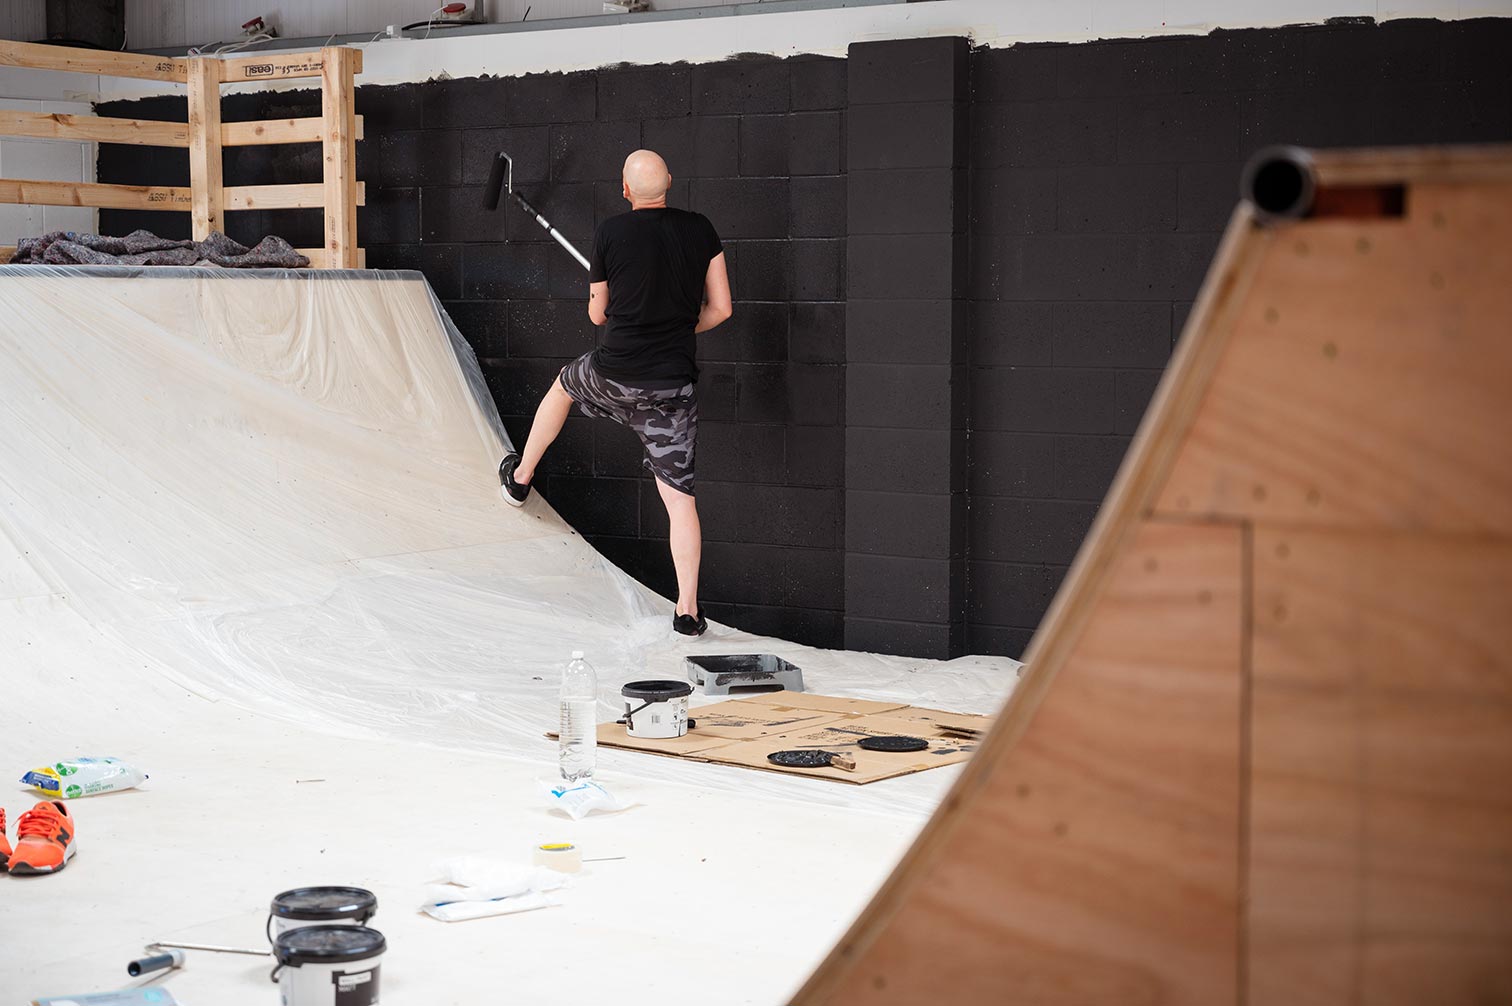
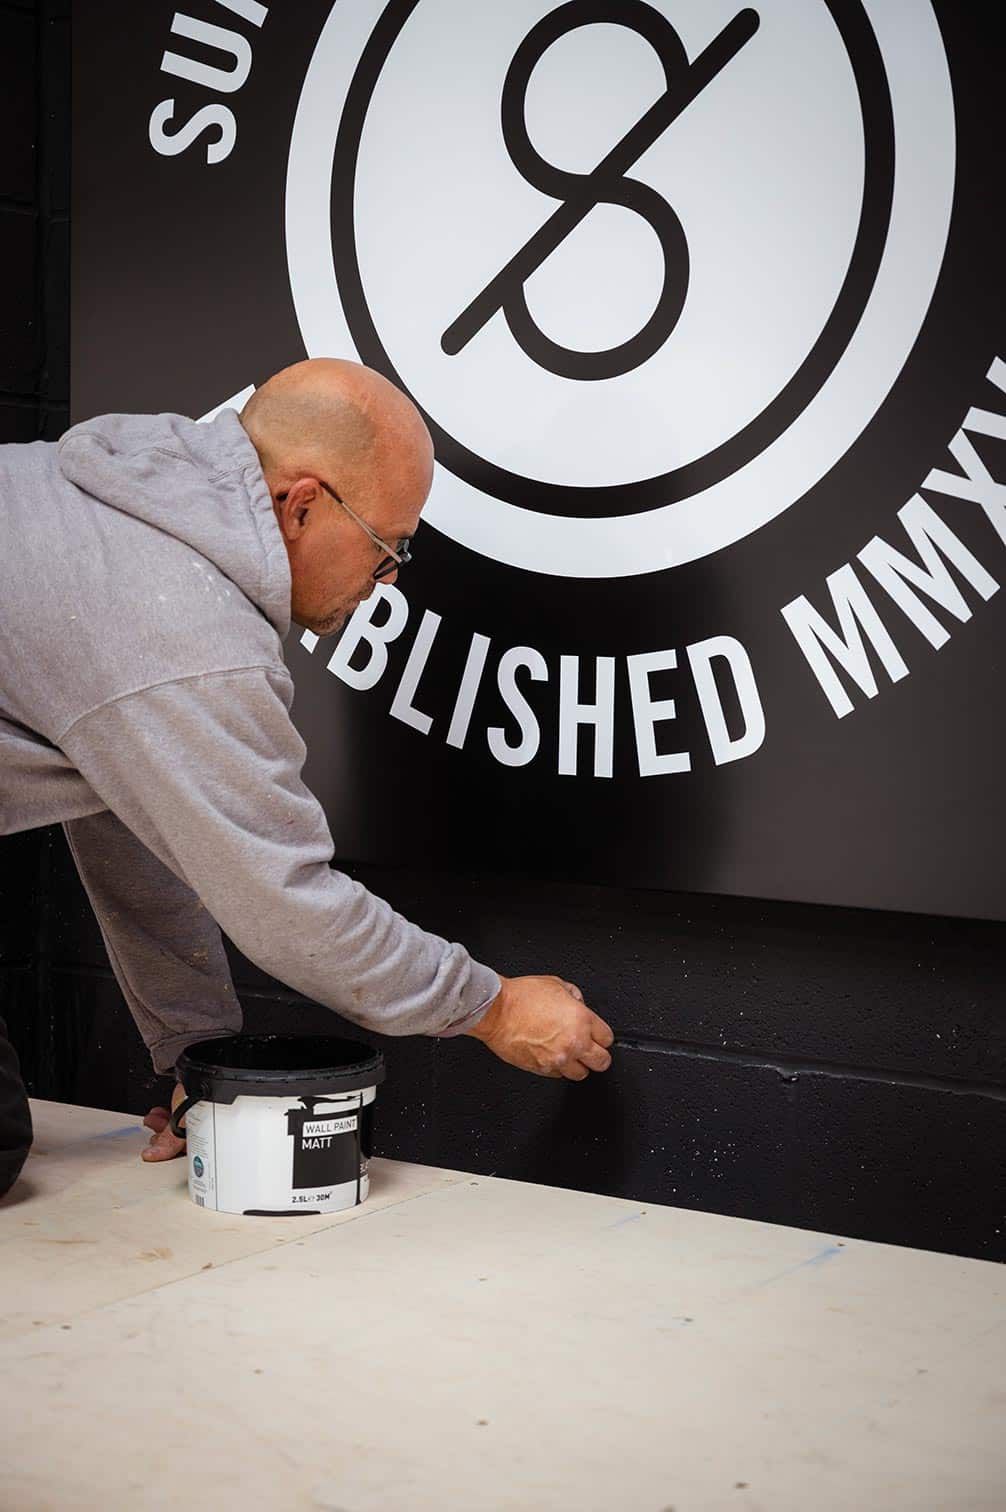
We moved into our new warehouse in June 2022 and the ramp was finished in July, just in time for the hottest summer on record. The warehouse got to over 40c so the early sessions were like an oven. Now it is 0c and like a freezer but whatever the weather our ramp is there waiting for a sesh. Stoked!